Thank you for stopping by!

Getting Started
Setting up your Sidekick and getting started...
Making the Connections
With 4 connections you're ready to... Relax, Create, and Sew Smarter.
Click for instructions.
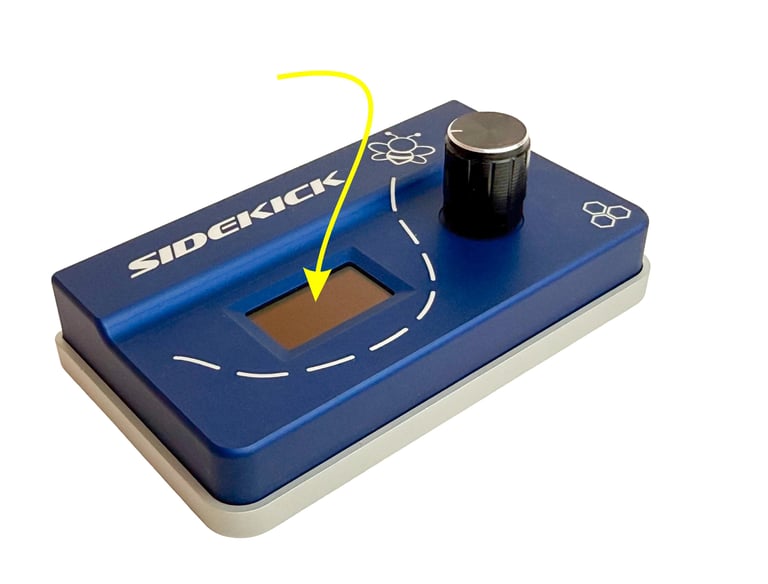
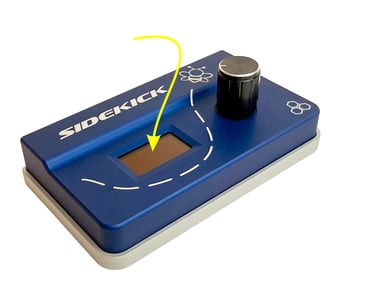
Navigating the Menu
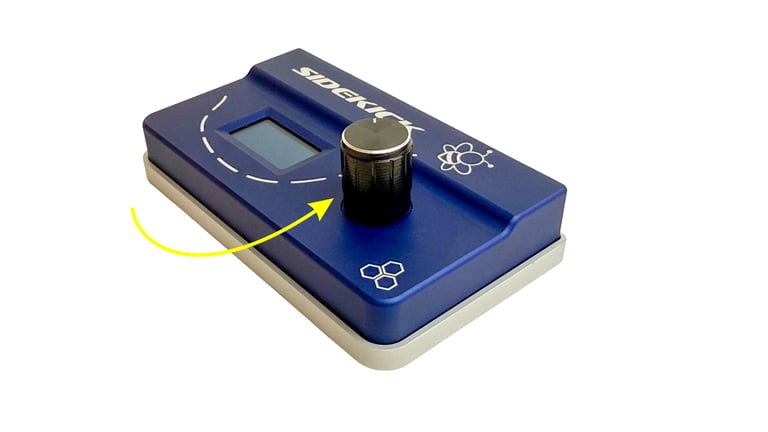
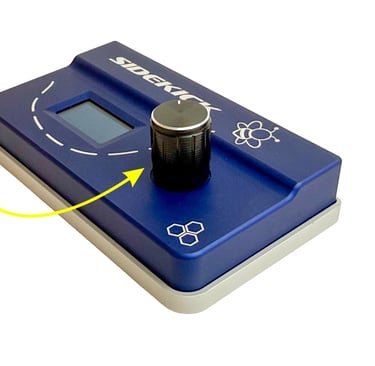
The knob on the Sidekick serves two functions.
Click to discover.
There are 4 Sidekick settings: Style, Mode, Top Speed, and Parameters.
Click to review.
Sidekick Settings
Getting Started
Setting up your Sidekick
Making the Connections

With 4 connections you're ready to... Relax, Create, and Sew Smarter.
Click for instructions.
Navigating the Menu
The knob on the Sidekick serves two functions.
Click to discover.
There are 4 Sidekick settings: Style, Mode, Top Speed, and Parameters.
Click to review.
Sidekick Settings
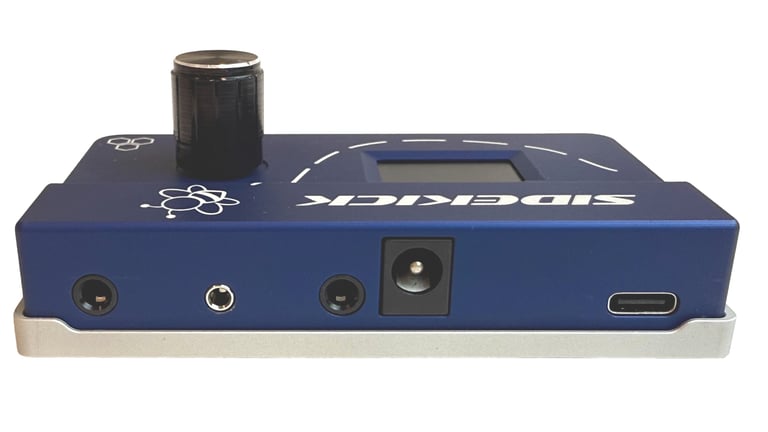
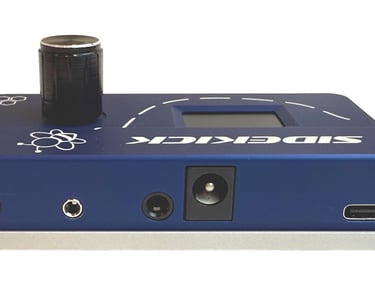
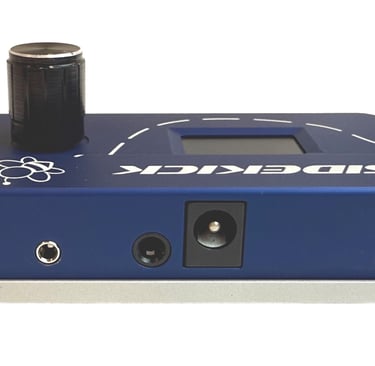
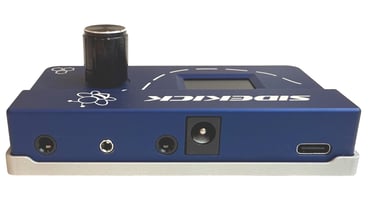
With the sewing machine turned off, make the following connections:
Connector Cord
This cable plugs into the sewing machine’s foot pedal port.
There are 4 cable options available - female, male, 3-pin, and 3-pin for Janome HD9 machine and its derivatives.
Finger Pedal
Sewing machine foot pedal
Plug the foot pedal into one of these ports.
In the case of the Janome 1600/HD9 and its derivatives, using optional foot switch is recommended.
USB-C power
1
2
3
4
Making the Connections
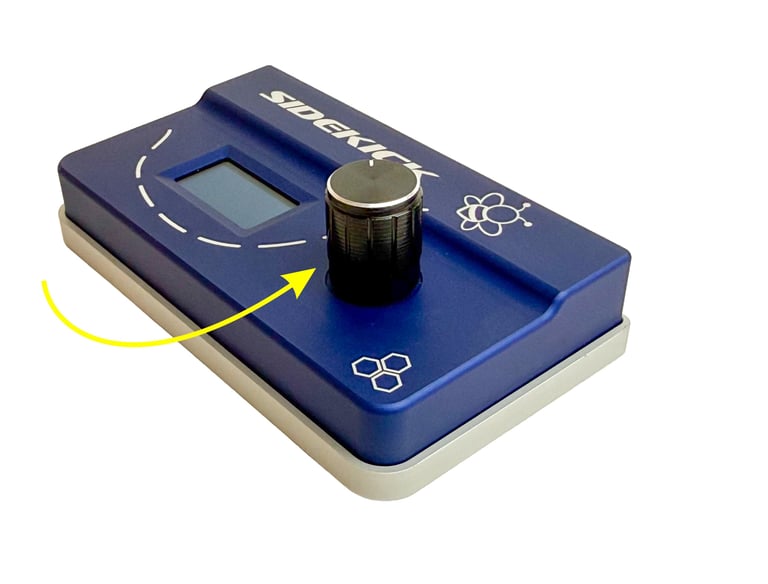
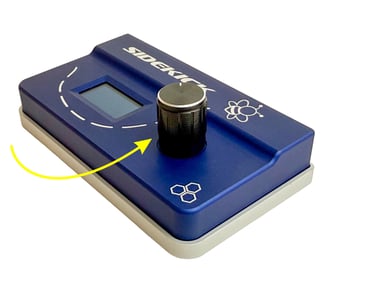
The knob serves two functions: it rotates to scroll through the Settings on the display screen; and it serves as a button to make selections.
The pointer (‘<’) on the right side of the display indicates the Setting to be selected.
Rotating the knob scrolls through the Settings options.
Pressing the knob places that Setting into Edit Mode. An asterisk will appear on the left of the setting indicating you are in Edit Mode.
To change the Setting, rotate the knob while in Edit Mode.
Press the knob to save the Setting and return to Operating Mode.
Navigating/Using the Knob
The knob serves two functions: it rotates to scroll through the Settings on the display screen; and it serves as a button to make selections.
The pointer (‘<’) on the right side of the display indicates the Setting to be selected.
Rotating the knob scrolls through the Settings options.
Pressing the knob places that Setting into Edit Mode. An asterisk will appear on the left of the setting indicating you are in Edit Mode.
To change the Setting, rotate the knob while in Edit Mode.
Press the knob to save the Setting and return to Operating Mode.

Navigating &
Using the Knob
There are 4 Settings on the SIDEKICK menu: Style, Mode, Top Speed, Parameters
STYLE:
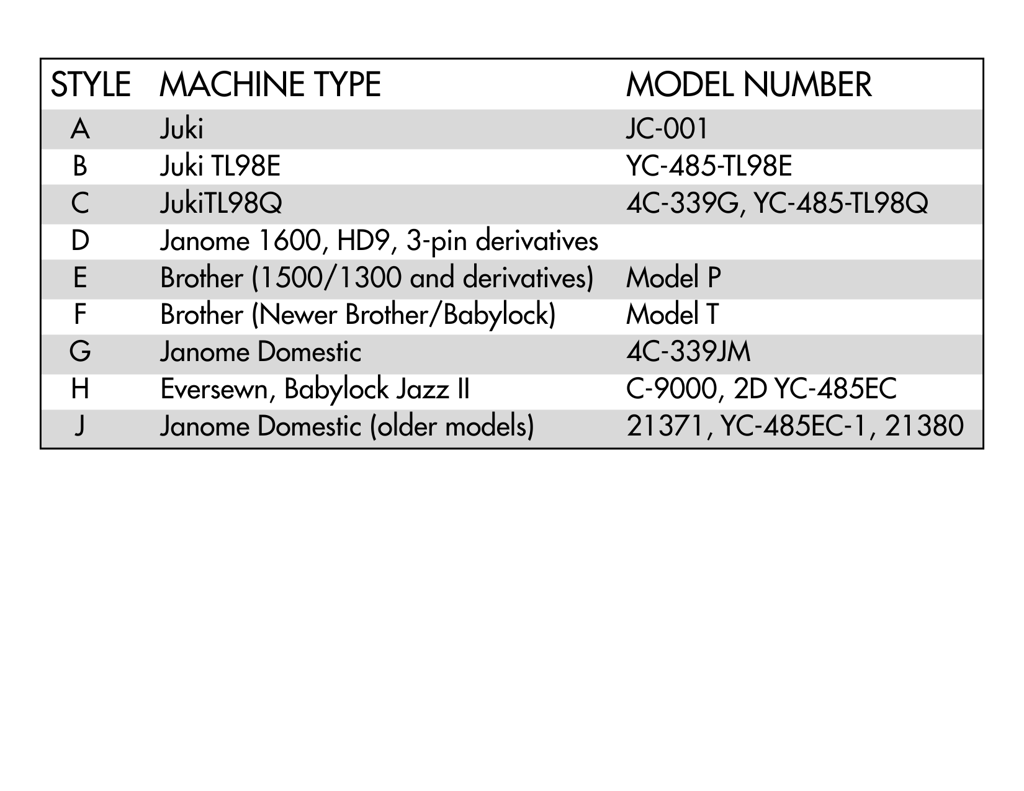
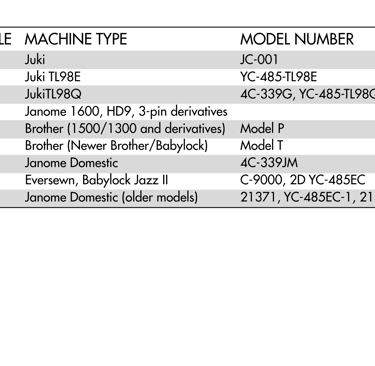
There are 9 compatible sewing machine foot pedal Styles. The model number of the foot pedal is typically found on the back of the pedal.
MODE:
There are 2 Modes, Normal and Chain.
Normal
If using the finger pedal, tap to start and tap to stop. The machine will run continuously.
If using the foot pedal, the machine behaves as normal and the top speed allowed is determined by the ‘Top Speed’ selection.
Chain
Whether using the finger pedal or the foot pedal, tap to start. The machine will ramp up to speed using the Ramp Up parameter (slow, med, fast) then it will sew for the duration which is set in seconds, then it will slow down using the Ramp Down parameter (slow, med, fast).
For safety, tapping either the finger pedal or the foot pedal while actively sewing in Chain mode will stop the machine instantly.
Settings
PRO TIP, Chain Mode:
For most sewing, Settings for Ramp Up and Ramp Down will remain the same and become a personal preference. When selecting the Duration Setting for a particular project, running a couple of tests will help find the “sweet spot.” Some examples include: using a short duration to avoid pinning; using a longer duration with slower Top Speed for longer seams. The possibilities are endless...and easy to find what works for each project!
TOP SPEED:
Use this Setting to select the top speed of the sewing machine in increments from 1 [slowest] to 10 [fastest].
PARAMETERS:
Use this Setting to select the three Chain Mode parameters: Ramp Up, Duration, Ramp Down
There are 4 Settings on the SIDEKICK menu: Style, Mode, Top Speed, Parameters
STYLE:
There are 9 compatible sewing machine foot pedal Styles. The model number of the foot pedal is typically found on the back of the pedal.

MODE:
There are 2 Modes, Normal and Chain.
Normal
If using the finger pedal, tap to start and tap to stop. The machine will run continuously.
If using the foot pedal, the machine behaves as normal and the top speed allowed is determined by the ‘Top Speed’ selection.
Chain
Whether using the finger pedal or the foot pedal, tap to start. The machine will ramp up to speed using the Ramp Up parameter (slow, med, fast) then it will sew for the duration which is set in seconds, then it will slow down using the Ramp Down parameter (slow, med, fast).
For safety, tapping either the finger pedal or the foot pedal while actively sewing in Chain mode will stop the machine instantly.
Settings
PRO TIP, Chain Mode:
For most sewing, Settings for Ramp Up and Ramp Down will remain the same and become a personal preference. When selecting the Duration Setting for a particular project, running a couple of tests will help find the “sweet spot.” Some examples include: using a short duration to avoid pinning; using a longer duration with slower Top Speed for longer seams. The possibilities are endless...and easy to find what works for each project!
TOP SPEED:
Use this Setting to select the top speed of the sewing machine in increments from 1 [slowest] to 10 [fastest].
PARAMETERS:
Use this Setting to select the three Chain Mode parameters: Ramp Up, Duration, Ramp Down
Connect
Sew with Sidekick - Find us on Instagram and YouTube. Join the community of creative sewists today!
Explore
Inspire
© 2026 LiTen Up Technologies, Inc. All rights reserved.
SITE MAP
Getting Started